Drywall & wall repairs · 3 min read
Matching wall texture after a patch: agree on the finish before painting
Filling a hole and matching the wall around it are separate parts of a drywall repair. Before the patch is painted, agree on the texture's shape, density and transition into the existing finish. Matching the paint color cannot settle those surface decisions.
Use the texture name as a starting point
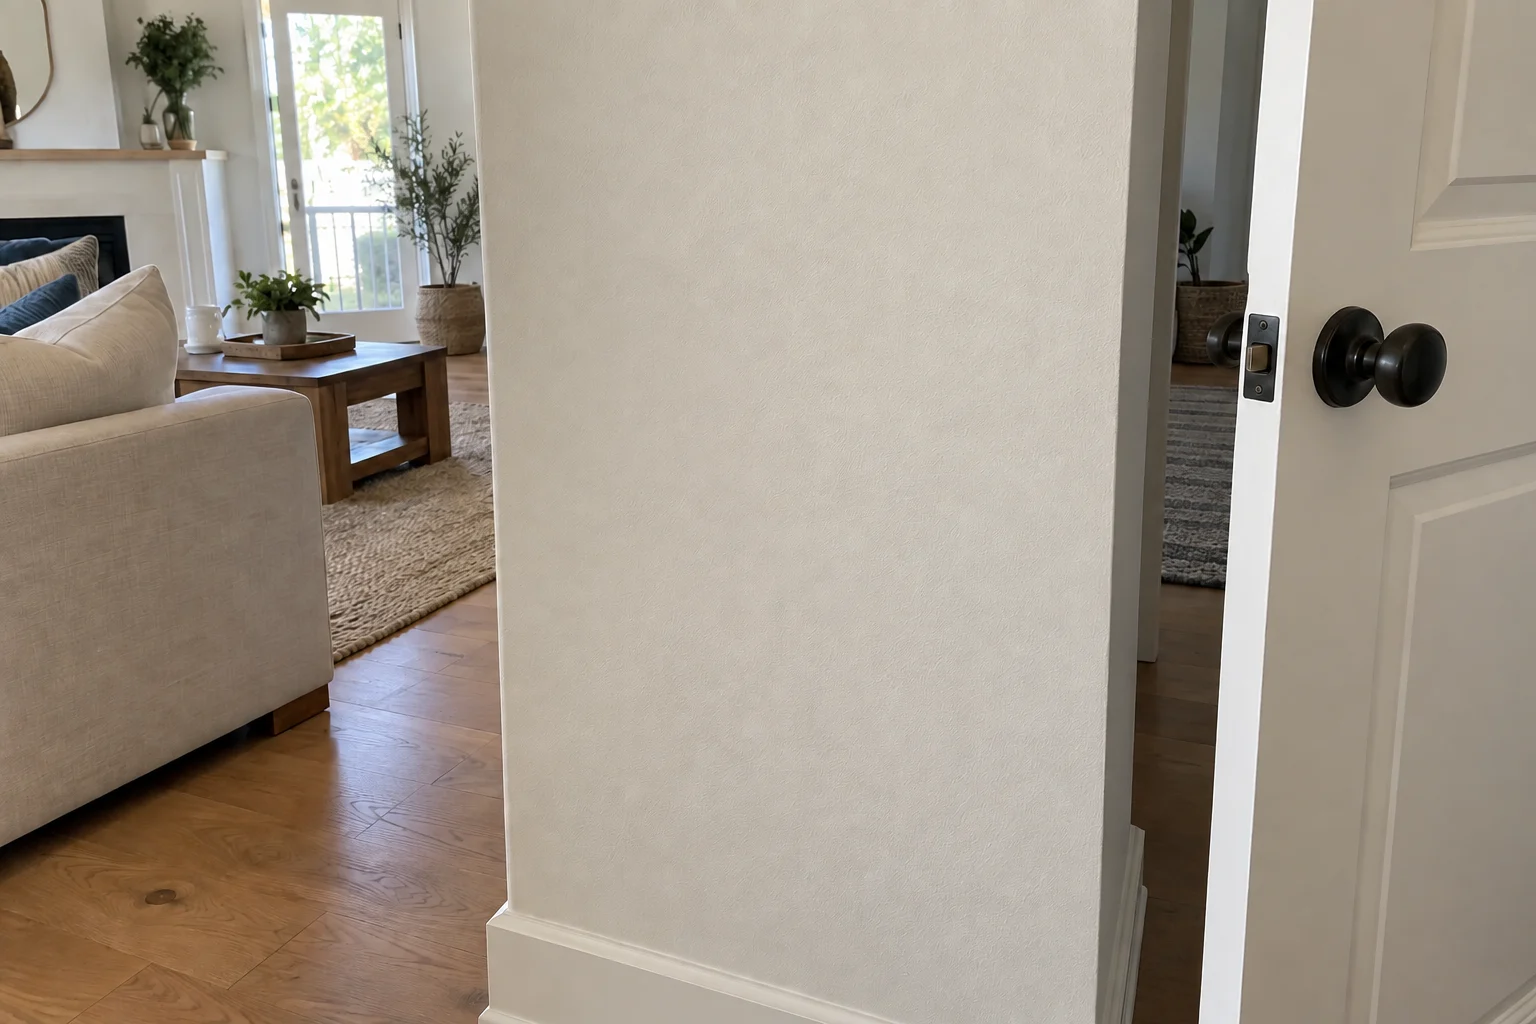
USG's textured-wall repair guidance distinguishes orange peel's small dots from knockdown's flattened pattern. A smooth finish has no deliberately raised texture pattern. Ask the repairer to identify what is actually on your wall rather than ordering a texture from a room photo online.
Even within one named style, the surface varies. Homax's texture product guidance describes a range from fine to heavy splatters and knockdowns. Saying 'orange peel' does not specify the size, spacing or amount of relief that will look right beside your existing wall.
- Are the raised areas small and closely spaced, or larger with more open space?
- Do they look rounded or flattened on top?
- Does the surrounding wall have old patches or noticeably different areas?
- Is the goal a local blend or a new finish across a larger area?
Give the sample a clear approval step
Ask whether the repairer can prepare a sample before texturing the wall. Agree where it will be made and whether it will include the planned primer and paint. A separate sample board can help compare a pattern without committing the whole repair area, but it cannot demonstrate how the patch edge will blend into the wall.
Review the dry sample beside the existing finish. Compare the raised shapes and the spaces between them, not just the overall color. Record the accepted sample and any remaining difference so 'match existing' has a shared visual reference.
Review it in the light you actually live with
USG explains that light striking drywall at an angle can reveal shadows from surface variations. Point out a window, skylight or wall light that makes the repair area especially noticeable. Include any planned lighting change in the discussion.
Look from normal room positions in daylight and with the usual lights on. If the existing wall has ridges or depressions, ask whether the proposed local repair addresses them or whether broader finishing would be needed. A texture sample alone is not a promise of an invisible repair under every viewing condition.
Mark three boundaries in the proposal
Have the proposal distinguish the damaged area being repaired, the area being textured and the area being painted. USG's repair guidance includes preparation extending beyond the damaged spot, so the original hole is not necessarily the finished work's boundary. Ask the repairer to show the proposed extent on a photo.
Confirm whether primer and finish paint are included and where repainting stops. If a local finish remains distracting after drying, agree how any wider work would be reviewed and authorized. Send Coast & Craft the texture photos, intended result and existing paint details so the accepted scope can be confirmed before a visit.
Sources & product details
Manufacturer instructions for your exact product take precedence over general planning guidance.