Drywall & wall repairs · 3 min read
Wall repair photos: four shots that help explain the job
A tight close-up shows a hole, but it leaves out the size, the surrounding finish and where the repair sits in the room. Four simple photos give a clearer starting point. They help define the request; they cannot show everything behind the wall.
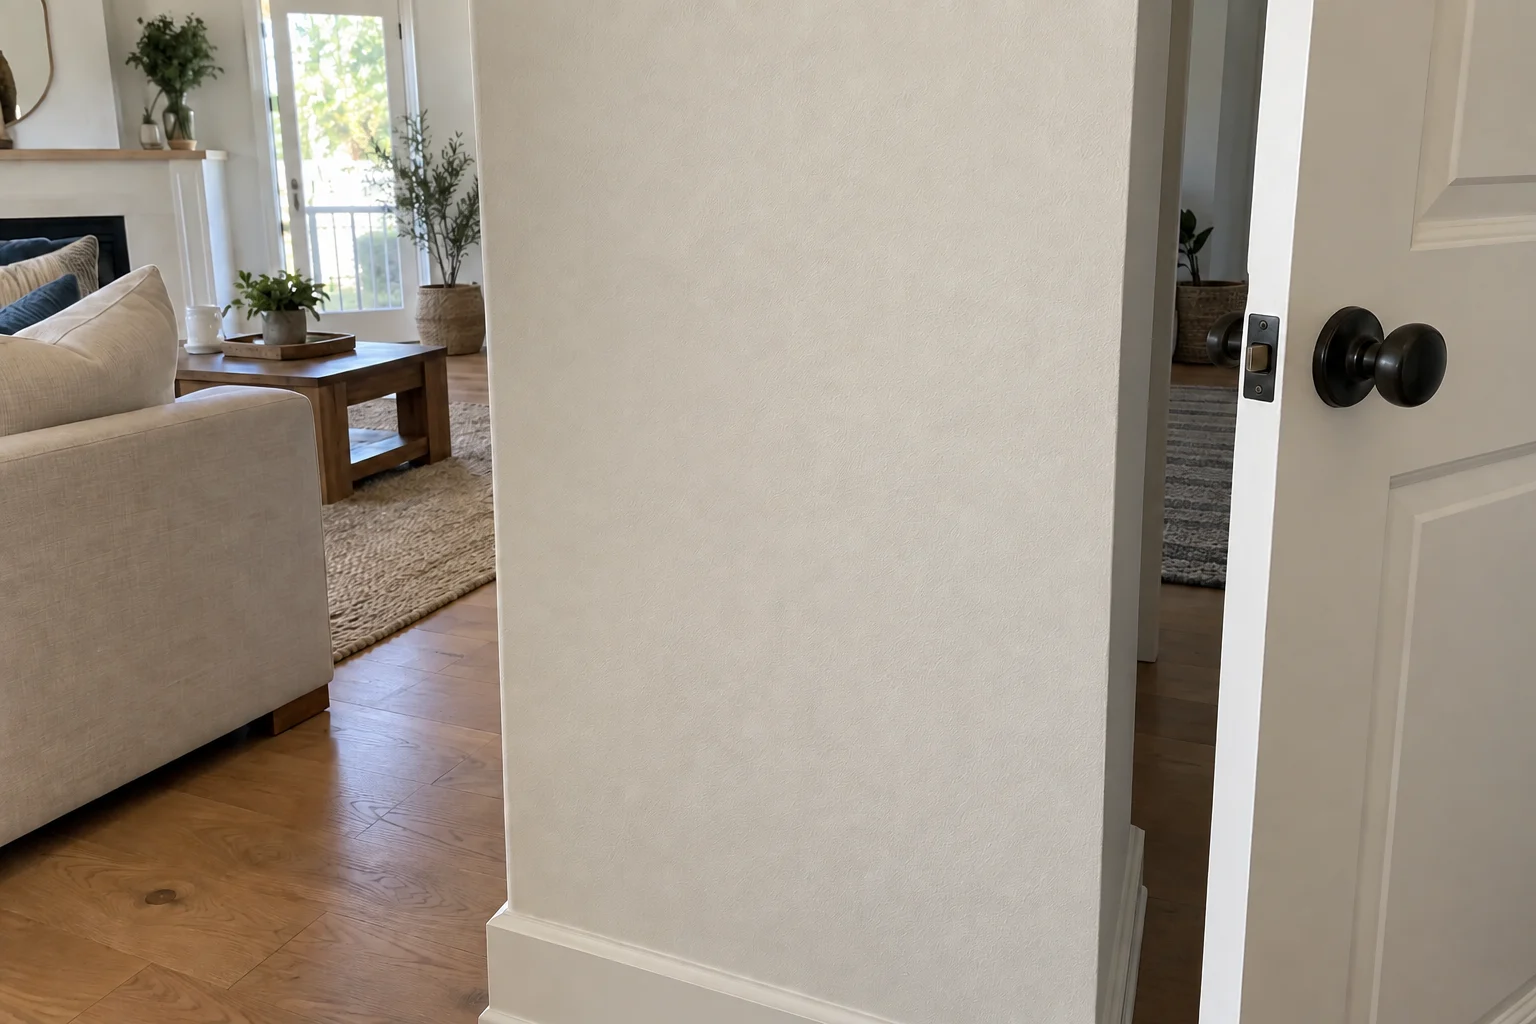
1. A wide view of the wall
Stand back far enough to show the damaged area together with a nearby doorway, corner or baseboard. Include furniture that affects access. This helps explain whether the work is beside a door, above a counter or part of a larger wall.
If there are several areas, give each one a simple label in your message, such as Living room A or Hallway B. Use those labels again when describing the close-ups. Crop out family photos, paperwork and other private details that do not help explain the repair.
2. A clear close-up
Photograph the visible edges of the damage and some intact wall around it. Keep the original color and avoid beauty filters or marked-up images that hide the surface. Send the unmarked photo alongside any version with arrows.
Do not scrape, sand, pull out anchors or enlarge an opening for the picture. If the area is on a high wall or ceiling, photograph it from the floor and mention that closer access will need to be assessed.
3. Something that establishes scale
Where it is safely reachable, show a ruler beside the damage without pushing on the wall or into the opening. Include the full damaged area in the same frame. If measuring is awkward, give an approximate width and height in the message and say they are estimates.
For several small holes, report the number and the span they cover. Six holes spread along a wall are a different description from six holes clustered behind a removed bracket.
4. The surface under light from the side
Take an additional view with daylight or a lamp lighting the wall from an angle. That can make texture, raised patch edges and uneven areas easier to see than a straight-on flash photo. Keep the wide view as well so the close-up has context.
Show an undamaged area nearby. If you have the existing paint's brand, color and finish in your records, include them. The picture helps describe the finish, but it does not establish an exact paint match.
Add the history a photo cannot show
Say whether the damage followed an impact, removed hardware, a leak or an earlier repair. Note when you first saw it and whether a stain or crack has grown. Use observations such as “the stain returned after rain” rather than trying to diagnose the cause.
Moisture changes the request. USG's water-damage guidance says the source must be addressed and that decisions about damaged panels depend on the particular situation. EPA also advises against painting over moldy surfaces. A photo cannot confirm that a wall is dry inside or ready to patch; report suspected moisture or mold before arranging cosmetic work.
Define the finish you want included
Ask whether the proposed work includes the patch, texture, primer and painting, and which wall area will be painted. Mention anything that needs to be removed or put back, such as a curtain bracket or shelf.
Your message can be brief: city, labeled photos, approximate size, known cause, whether the problem is changing, and the finish you want. The team can then review what is known and what still needs an onsite assessment.
Sources & product details
Manufacturer instructions for your exact product take precedence over general planning guidance.