Cabinet & drawer repair · 3 min read
Loose or damaged cabinet toe kick? Check the panel, fastening and appliance clearance
The recessed strip below kitchen cabinets can look like a simple piece of trim, but replacing it means checking what holds it in place and what sits behind it. A loose panel, a chipped corner and damage near an appliance can need different repairs. Start with photos and the cabinet details before ordering a long strip of replacement material.
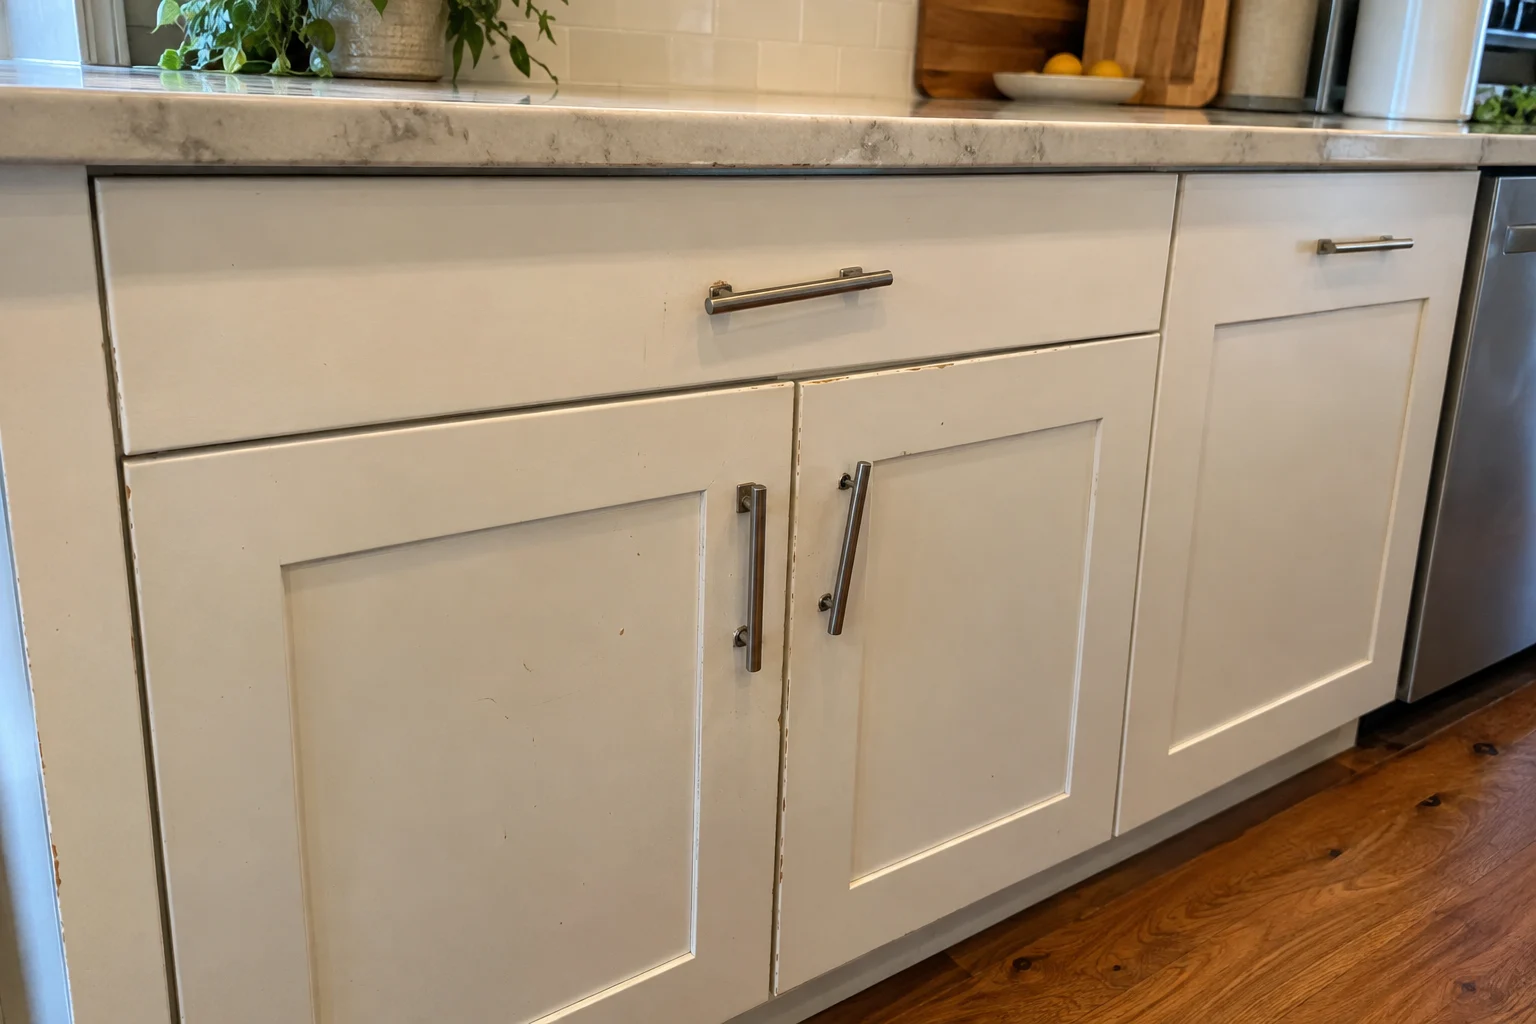
Identify the material before choosing a repair
Toe kicks are also called plinths. Their appearance does not establish their material. IKEA's dark-gray FÖRBÄTTRA toe kick, for example, lists thermoplastic elastomer, polypropylene and plastic foil. A wood-filler or paint approach should not be chosen simply because the strip resembles painted wood.
Find the kitchen's original order, cabinet brand or product code if available. Photograph the damaged area and a nearby intact section. Describe whether the problem is a surface scratch, a broken edge, a detached section or material that appears swollen. Report dampness or recurring damage so its cause can be assessed before a new panel covers the area.
Separate a fastening repair from a replacement panel
Ask whether the existing panel can be retained with the correct attachment parts or needs replacement. If a piece has already come away, keep it and any loose hardware for identification when safe to do so. Photograph its back without removing more trim or reaching beneath an appliance.
The repair request should identify what is loose: the decorative strip, its attachment or the cabinet itself. Cabinet movement needs a separate support assessment. Do not adjust cabinet legs, add screws blindly or glue a panel across an access point just to hold it still. Let the installer identify the intended attachment.
Map the whole run, including corners and finish changes
Send an overview showing where the affected run starts and ends. Add approximate length and visible height if you can measure them comfortably; final ordering dimensions should be checked by the installer. Include corners, exposed ends and transitions to another cabinet finish.
A catalog strip size is not necessarily the installed size. The cited IKEA panel has its own published dimensions and material; those specifications do not establish a fit for another kitchen. Agree on the finish using the exact product or a physical sample, especially when replacing only one section among older panels.
Keep appliance doors, vents and service access working
At a dishwasher, compare the proposed trim with the door's movement. Bosch's installation guidance explains that clearance between an integrated door panel and plinth depends on panel thickness and appliance height. Have the installer check the actual model rather than copying a gap from another kitchen.
Ventilation needs are also product-specific. Bosch's B30IB800SP fridge-freezer instructions explicitly prohibit covering ventilation slots in its base panel. A continuous-looking trim line must preserve the openings required by the appliance. Identify nearby grilles and appliance model numbers, and ask how any required service access will remain available. Leave appliance movement and panel removal to the appropriate technician.
Define the finished result in the request
Send Coast & Craft your city, cabinet records, photos and any proposed replacement link. State whether you want one damaged section repaired or the entire visible run refreshed. Ask the scope to include attachment parts, corner and end details, finish work, disposal and checks around adjacent appliances. Any moisture, cabinet-support or appliance work should be identified separately before the visit is agreed.
Sources & product details
Manufacturer instructions for your exact product take precedence over general planning guidance.