Bathroom upgrades · 3 min read
Replacing a toilet? Check the rough-in and the full footprint
Before ordering a replacement toilet, ask the installer to review the candidate model against your bathroom. Keep the product drawing, seat choice and installation manual together so the purchase decision covers the complete project.
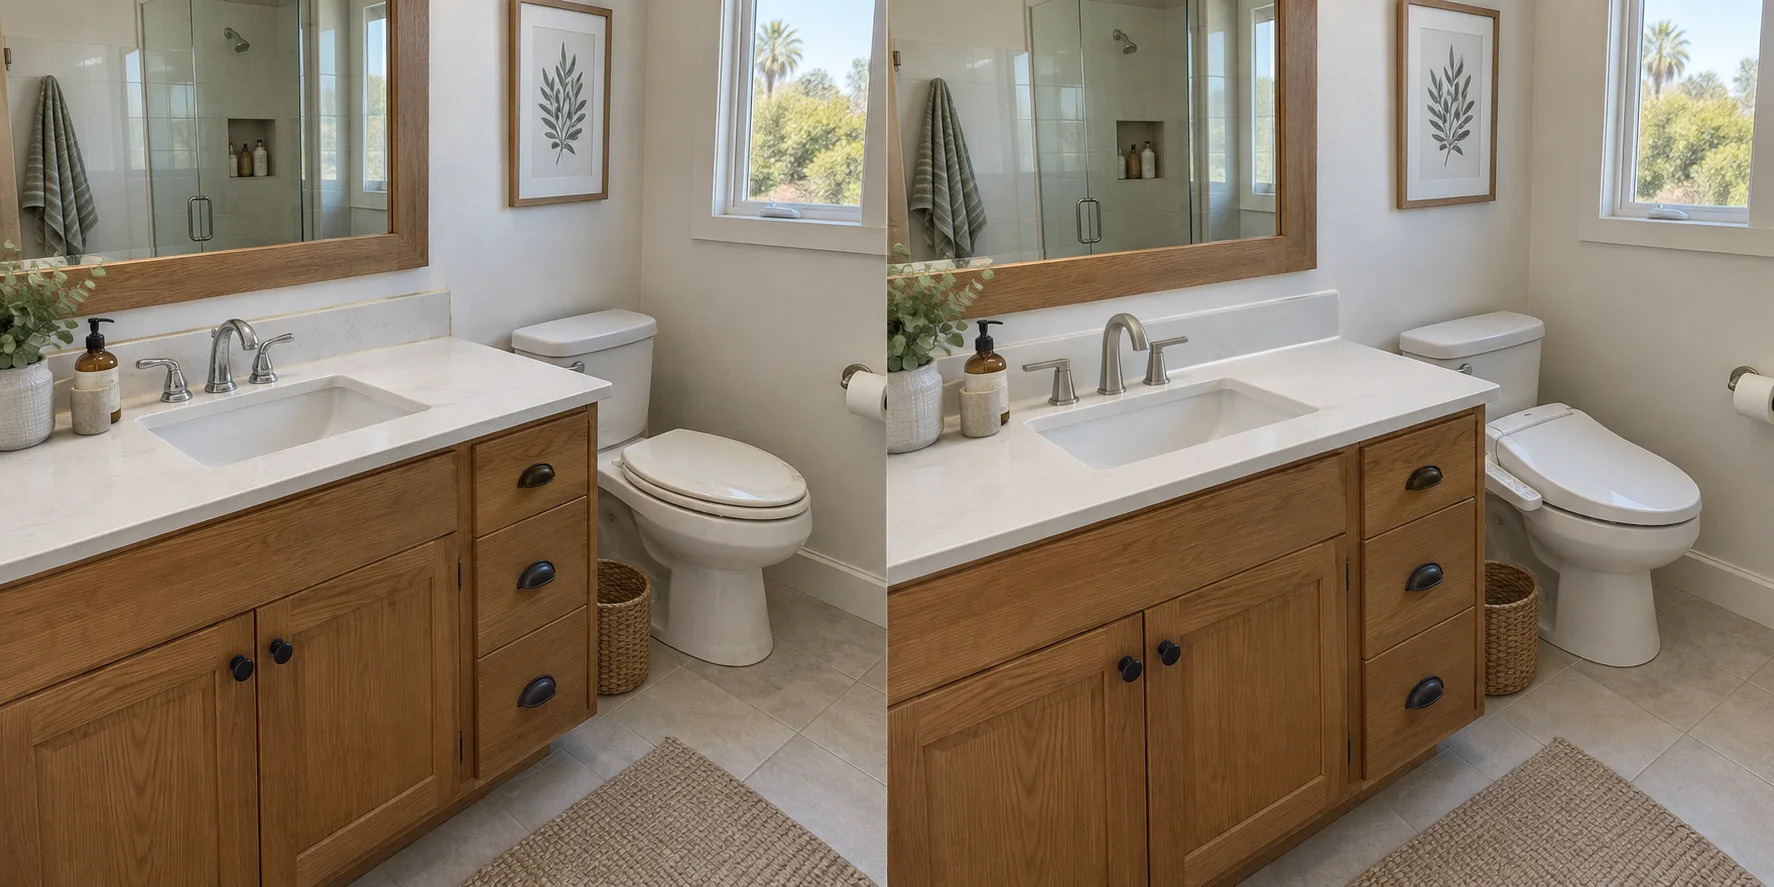
Start the rough-in measurement at the wall
For a conventional floor-mounted toilet, Kohler's buying guide measures rough-in from the wall behind the toilet to its floor bolts, excluding the baseboard. Record where your measurement starts and ends; the gap behind the tank is not the rough-in.
If the bolts are concealed or the measurement is uncertain, use the existing model records and have the installer confirm it. Leave the toilet intact. Match the confirmed rough-in to the new model's specification.
Compare the complete outline
One-piece means a combined tank and bowl; two-piece means separate components. Neither label establishes the overall dimensions. Compare the candidate's front projection, width and height. Round-front and elongated bowls differ in length, so compare actual drawings rather than assuming the new toilet occupies the same space.
Confirm the exact seat or bidet model separately, including its mounting and lid clearance. Tell the installer whether you intend to retain an existing seat.
Check the supply and the space that moves
A matching rough-in does not resolve every connection question. For example, TOTO's CST646F manual gives guidance on the supply valve's location, connection orientation and projection from the wall. That guidance applies to this model; it does not establish universal toilet dimensions. Have the installer compare your existing valve and connection with the manual for your chosen toilet.
Show how the bathroom door, shower door and nearby drawers open. Ask for a check of flush-control access, tank-lid removal and cleaning access around the base. Photograph the existing supply without disconnecting it. A showroom photo cannot establish these clearances in your room.
Leave room in the scope for what is underneath
Oatey's flange guide identifies cracks, corrosion, height relative to the finished floor and signs of prior leakage as inspection points. It also notes that a full inspection usually requires toilet removal. Arrange for the plumbing professional to assess these conditions when the old toilet is removed; product selection cannot confirm that the existing connection is sound.
Mention previous leaks, movement of the bowl or changes to the bathroom flooring. Agree who will explain any additional repair, obtain your approval and revise the plan before proceeding. Ask whether a different base outline could leave visible flooring or finish work.
Put these decisions in the project request
Send Coast & Craft your city, the candidate product links and these details so the proposed work can be reviewed before a visit is agreed.
- The confirmed rough-in and the toilet and seat model numbers.
- Who supplies the toilet, seat and model-required installation parts.
- Whether removal, disposal and any finish repair are included.
- How hidden plumbing or floor repairs will be approved.
- Whether this is the home's only usable toilet, so access and downtime can be planned.
Sources & product details
Manufacturer instructions for your exact product take precedence over general planning guidance.